Desiderata:
* Hot glue gun and glue sticks
* Staples
* Basing material (I'm using a CD)
* Sand
* Cardboard (cereal packet is fine)
* Superglue
* PVA glue
* Paint and brushes
* Foamcard
* Sharp knife
* Balsa wood
* Cardboard
* Plasticard which resembles dressed stonework (I got mine from the 4D Modelshop, and it's 1:43 scale)
* Plasticard tube
* Milliput or GS
* Ruler
* Pencil
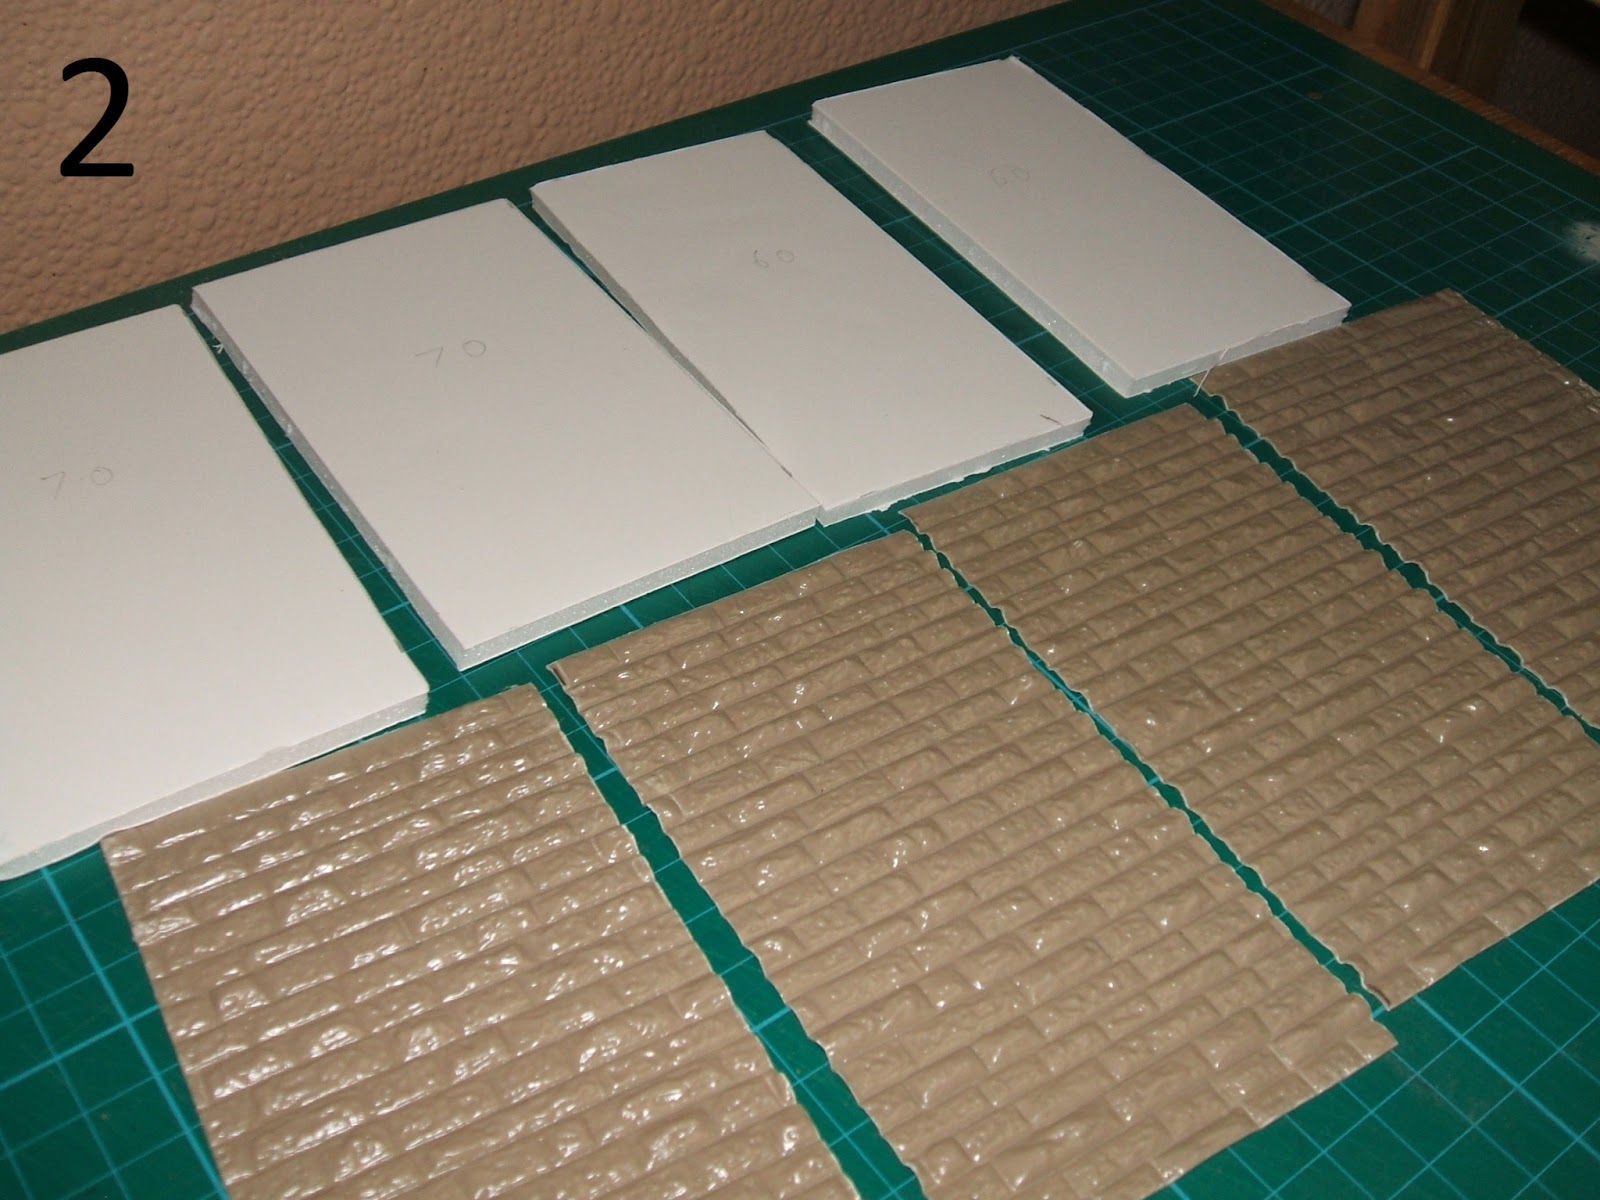
1) Grab all your equipment, and then decide just how big you want your tower to be. There are two factors to consider here. First, how much "dressed stone" plasticard do you have, and, second, how large is your basing area. I cut four pieces of foamcard, two were 70mm by c. 125mm and the other two were 60mm by c. 125mm. I say c.125mm, as I actually chose the height of the buildings so that the dressed stone was in complete rows from top to bottom. The 60mm bits are shorter as the foamcard is 5mm thick. See Figs. 1&2.
2) In the foamcard cut small arrow slits on the upper floors, and a large doorway on one side of the ground floor. Use the hot glue gun to secure the foamcard pieces to the base and to one another, then glue the dressed stone plasticard over the sides. Use your knife and carefully ensure that the windows and door are not blocked off by the plasticard! Do not worry that there are gaps at the corners of the building and elsewhere. See Figs. 3&4.
3) Take your balsa, and cut it into pieces slightly larger than the windows and doors. With a pencil and ruler, scribe the balsa so it seems that it is divided into planks of wood. Then glue these in place with the hot glue gun. See Fig. 5.
4) Mix your Milliput or GS, and fill in the various gaps around the model, not just the corners, but also the windows and the tops of the walls. If you have modelling tools, you can use these, but do not feel you need them desperately for this. After all, you are just trying to make it appear to be dressed stone, so a thumbnail or spare bit of wood will do perfectly well. See Fig. 6.
5) Cut yourself a roof from some foamcard. Take some offcuts and glue them in the internal corners to support this piece of plasticard. Then glue it in place with the hot glue gun, too. Take a piece of balsa, and scribe it as before, and glue it in place as a trapdoor. Take some pieces of the dressed stone, and use them to create an apparent floor. See Fig. 7. If you have some spare "dressed stone" plasticard, you could make a three-level tower: The lower level with the door, the second level with the arrow slits, and a roof level. I wanted to save some pieces of "stone" for a future tutorial, so I didn't.
6) I wanted to detail the door and the trapdoor on the roof a bit. So I cut some thin strips of cardboard, making them pointed at one end, and superglued them onto the door and trapdoor. I cut some tiny squares of cardboard, and superglued them on as large rivets. The handle was a bit trickier. I cut a square of cardboard, and a thin ring off the end of a plasticard tube. I glued the ring to the square, and the square to the door. I took a staple and bent it in two, twisting it around some pliers so it formed an elongated U-shape. I pushed a pin through the square of cardboard, and then pushed the staple through, too, securing it with some superglue. It now appeared that the door had a handle held in place by another piece of metal. Apply PVA to the base, tip sand over it, and then apply another layer of dilute PVA to lock it in place. See Figs. 7&8.
7) Give the model a once-over at this point, and once you're sure everything is fine, and the PVA dry, undercoat the model. Then go wild with the paints, and Bob's your uncle! See Figs. 9, 10&11.
I hope you found that handy, folks! I shall try to put up a few variations on this theme in the next fortnight or so. Happy gaming until next time!


No comments:
Post a Comment